What's In Our Camera Bag in 2023
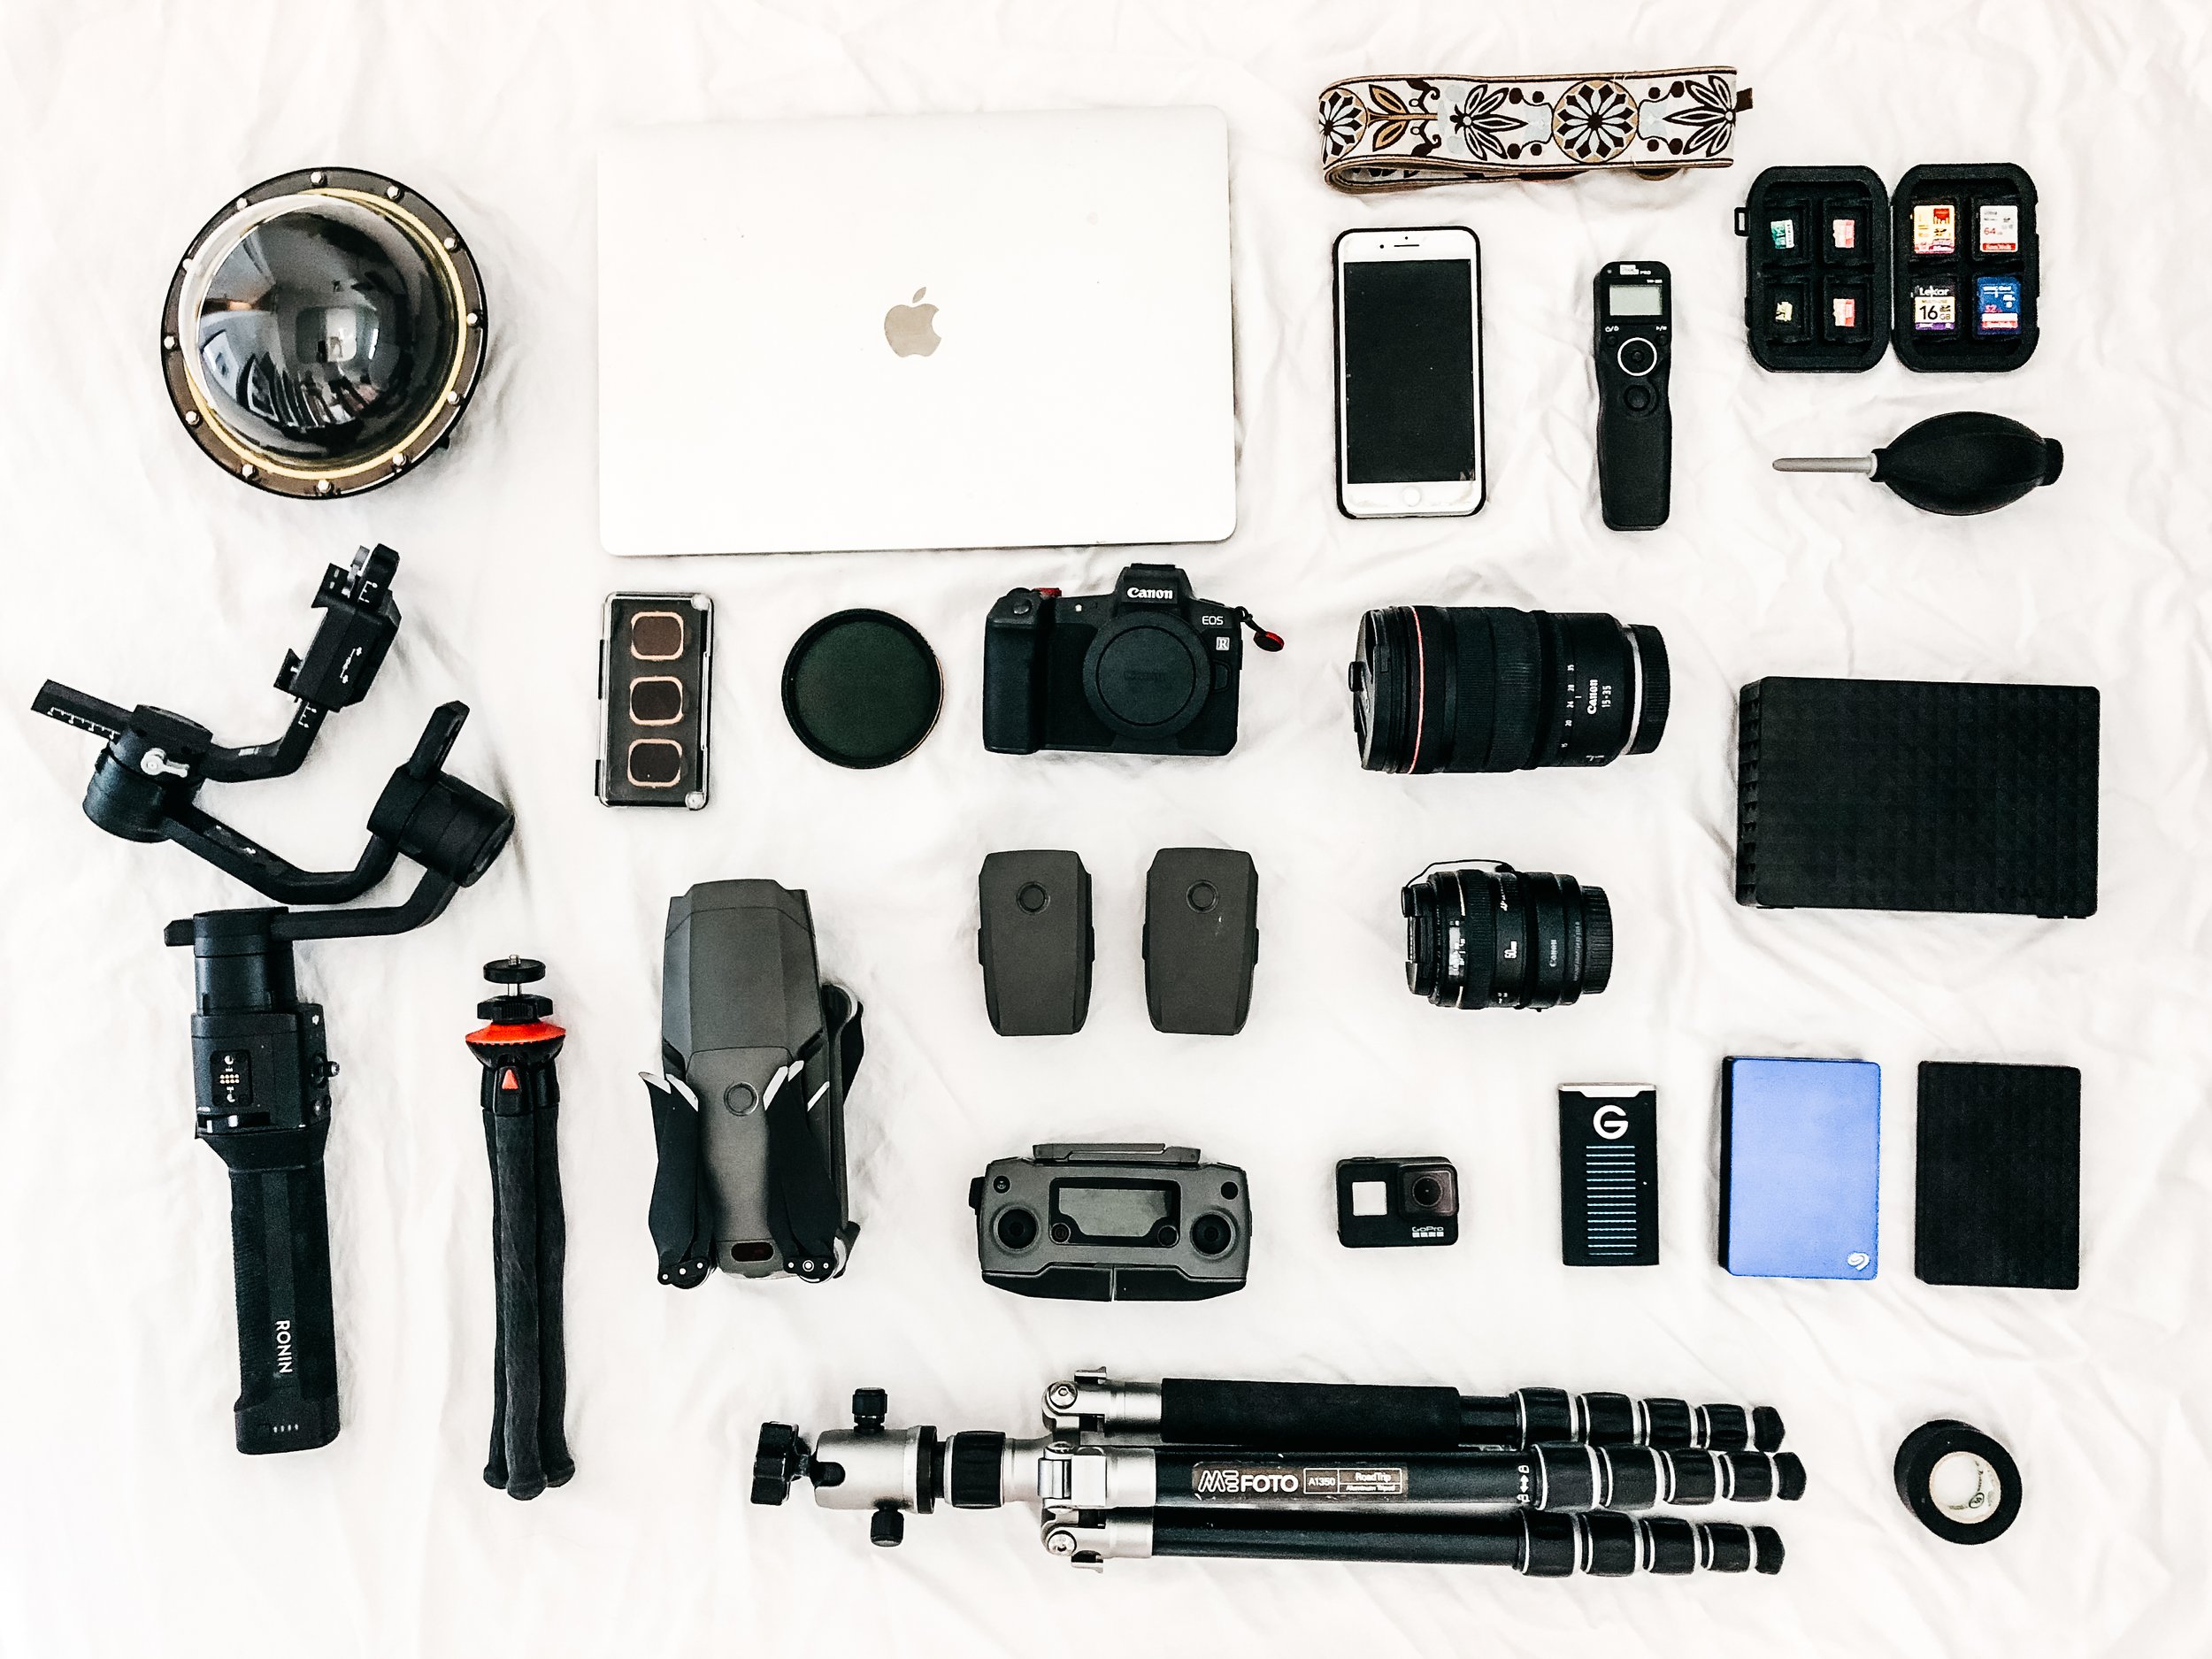
We want to share with you what’s in our camera bag right NOW (January 2023)!
For cameras themselves, there are so many different options out there, and each one has something it’s good at. The camera you need really comes down to what you are trying to accomplish and how you’ll be using your camera a majority of the time. We actually both grew up with an interest in photography, but we both just used entry level point-and-shoot cameras for capturing day to day memories and time with friends and family. As smart phones hit the market, there was a huge shift to having a higher quality cameras available 24/7. So smart phone quickly became our go-to camera. Though, as we began to travel more, we really wanted to learn how to enhance our photos (adjust exposure, focal point, bokeh etc.) and have produce higher quality than what the iPhone could offer, so we started to look into the DSLR space.
Our fist step was a Nikon D3200 crop sensor. It was a good introduction into the space of larger camera bodies (aka the cameras that make that *beep*click* sound every time it snaps a shot). The DSLR felt more substantial in our hands, even though we silenced the *beep*click* feature after we bought it 😉. This first larger purchase also introduced us to things like ISO, APERTURE, and SHUTTER SPEED. We weren’t really dealing with those before! After that first Nikon, we have changed our camera body a few times and purchased some more lenses that allowed us to really turn our passion for photography into a full time business.
Now let’s jump into it, we will start with the camera bodies, then the lenses, and finally accessories along side. Let’s go!
Camera Bodies
Camera Lenses
Drones
Lens Filters
Action Camera/Underwater
Gimbals
Accessories
Photo/Video Editing
Camera Bodies:
Canon EOS r5
Our newest addition to our camera bag. We waited before upgrading because we really were enjoying our EOS R and it was good enough for what we needed. But we committed to Canon’s flagship mirrorless camera and are so glad we did. One of the main features we were interested in was the increased dynamic range from our EOS R. We shoot quite a bit in lower light situations, and this has made a huge difference in our ability to work with the darks and lights captured in camera. Another feature we absolutely love, is the built-in intervalometer. We use this feature quite a bit for our couples photos and is a much cleaner set up than having to have our auxiliary intervalometer hanging from the camera. The body itself is a little bit bulkier than the EOS R, but not near as bulky as its DSLR counterparts. The designers also incorporated the spin dial back onto this body, which is really nice when sorting through photos. Another feature we were excited about was being able to shoot in 120FPS at 1080p. That slow motion is just tough to beat, and for client shoots, we don’t need more than 1080p. To sum it up, we have no regrets about the upgrade to the R5 because it checked a lot of boxes for us and we feel like we won’t be upgrading for atleast a couple years!
More on Canon EOS R5
Canon EOS R
Canon’s foray into the mirrorless realm. Ours too 😉 We were not so sure at first, but we needed higher quality video, and the EOS R can do 60fps in 1080p (also in 4k but with a crop). We were surprised at how light and nimble the body felt in our hands, and also how quiet it was when shooting. We quickly got over some of the quirks that so many reviewers outline on YouTube summaries, and we actually give this camera two thumbs up. It produces photo quality on par or slightly better than the Canon 5D Mark IV with greater range to adapt to low light conditions and higher pixel count. At the same time it is also lighter to carry around and supports Canon’s new line of RF lenses. We converted to the EOS R right when Canon introduced the RF 15-35mm f/2.8L IS lens, so we were motivated to make the move. The dynamic range and ability to capture darks is fantastic. Canon plans to further develop and invest in the mirrorless and RF realm and is starting to discontinue the DSLR bodies. So it seems that mirrorless is the way forward.
More on Canon EOS R
Canon 5D Mark III
This was our first full frame camera body we bought. The concept of “full frame” refers to the size of the sensor but essentially allows for the camera to take in more light for higher quality images in a broader range of conditions). We went with Canon because of the color profile that it produces in camera. Sony seems to have a less expensive lineup, but we preferred more of the warm color pallet that is shot in camera with Canon. Honestly, this camera is very durable and gets the job done for most of our still shot needs. One of the limitations for us is its video capabilities (it shoots 60fps up to 720p). This was okay when we weren’t doing as much video work, but that need has shifted. We honestly love this camera and it got us through so many shoots and would definitely recommend any of the Canon 5D series, but we moved onto the EOS R (see below) because we needed more video capability.
More on Canon 5D Mark III
Camera Lenses:
Canon RF 24-70mm f/2.8L IS
Our newest and favorite lens at the moment! We keep this on the camera most of the time and love the versatility it has from being able to shoot wide (ish) and still take advantage of a zoom. Sometimes if we want even more zoom, we will shoot with a crop in camera (1.6x) and this helps to punch in even closer. This lens is part of the L-series which means it is some of Canon’s best glass. We weren’t sure if we would use it so much, because we love our RF 15-35mm so much, but this is the perfect all-around lens that makes up most of our shots right now.
More on Canon RF 24-70mm f/2.8L IS
Canon RF 15-35mm f/2.8L IS
This used to be our main lens and we used it for everything. We shoot so much landscape with us as the subject, so we want to capture the view as much as possible. The 15mm doesn’t go uncomfortably wide and the 2.8 focal length allows for some really crisp shots with smooth bokeh in the back. We plan on keeping this lens around for a long time and using it in tighter situations such as indoors, on boats, and tighter spaces. And yes there really is a difference between f/4 and f/2.8. The images are crisper. We use to have an EF 16-35mm f/4L IS USM, which was powerful, but capturing that last millimeter of zoom does make a difference when we are trying to capture essence of a tight space or even a panoramic view. We typically shoot at 24mm and will do a lot of video in 35mm. This is just a solid all-around lens.
More on Canon RF 15-35mm f/2.8L IS
Canon EF 50mm f/1.4 USM
Our “nifty fifty” lens. It is small, it is fast, and it is SO crisp. Whenever we shoot with it, we look at each other and say “why don’t we shoot everything with this?” It is not uncommon for prime lenses to have a cleaner capture and better performance in low light. We are talking a minimal, but definitely noticeable difference. We liked that it provides a closer perspective beyond our wider RF 15-35mm f/2.8L IS lens, so we feel more versatile when trying to capture different looks for a scene. Prime (fixed) lenses are much more clean and crisp because they have less glass to shoot through. That said, this one is affordable and you won’t regret adding it to your arsenal.
More on Canon EF 50 mm f/1.4 USM
Canon EF 24mm f/1.4L II USM
As a bonus entry, the 24mm prime. Though we don’t have this lens, it will likely be our next purchase. As mentioned above, we love how crisp a prime lens captures photos, and we find that 24mm is our most common focal point on our 15-35mm lens. It’s a great in-between to give you just a little more into the photos while shooting in tight spaces such hotels or cities, but also not distorting the lines and edges too much which can happen when you start to get into the really wide angle lenses.
More on Canon EF 24mm f/1.4L II USM
DRONES:
DJI Mavic Air 2
This was our first drone and we love it. It is compact enough to fit in a pocket and is no bigger than my outstretched hand. It is affordable and able to capture those bird’s-eye images you just can’t get any other way. The DJI drones have tracking capabilities and Quick Shot modes that make content producing simple and quick. We recommend getting the Fly More Combo, as we use the extra batteries and have broken our propellers and needed the replacements. Batteries typically only last 15- 20 minutes so you will likely want at least 2-3 on hand.
More on DJI Mavic Air 2
DJI Mavic 2 Pro
We upgraded to the Mavic 2 Pro because we heard it was faster and had varying focal lengths. Because we shoot in manual with an eye towards the histogram, the variable aperture adjustment is helpful when trying to balance out the exposure. We also also use ND filters to help with the exposure quandary, especially on sunny days. When compared with the Mavic Air, the image quality is better (especially from higher up, sometimes the Mavic Air begins to blur the details of the landscape over a couple hundred feet), the propellers are quieter, it flies a bit faster, and size is only slightly larger (but still folds up similar to the Mavic Air). So if you ask us, yes it is worth the extra $$$ if you can swing it. We have been very happy with the upgrade!
More on DJI Mavic Pro 2
White Props for Drone
After a couple crashes with the Mavic 2 Pro, the original propellers started to get a little worn down. As result, the props become less efficient and use up more battery life, plus they make more noise. So after doing some research, we were happy to find some propellers that were actually quieter and looked cool. So we just bought these and have loved them so far!
More on White Stealth Propellers by MAS
LENS FILTERS:
PolarPro Variable Neutral Density (ND) Filter
We use this anytime we are shooting outside. It allows us to keep a slower shutter speed (essential for video work) while maintaining a more open aperture. When it comes to photos, the slower shutter speed allows for softer darks and a smoother overall look. Having a variable neutral density filter is nice because we don’t have to constantly be changing filters, which on a shoot can be crucial. We went with the Peter McKinnon version, because we like him and he’s the one that first taught us how to shoot with a DSLR in manual mode through his YouTube channel.
More on PolarPro Variable ND Filter
B + W Polarizer
A polarizer is something we will use when photographing anything with potential glare (such as shooting through a window or water on a sunny day). It helps to reduce the “mirror” effect and get a more crisp clean shot. Something to keep in mind is this will produce more vibrant colors as well as alter the white balance. Most of which can be corrected post edit and sometimes we even prefer the color profile this provides.
More on B+W Polarizer
DRONE PolarPro Neutral Density (ND) Filters
We typically will have one of these on the drone whenever we shoot. It allows to keep aperture and ISO in check, especially when the shutter speed is fixed for shooting video. We have heard these described as “sunglasses” for the lens, but just consider it a necessity if you plan to shoot video with the drone. We love this pack because it comes with 4 different ND options (4,8,16,32) depending on how bright the conditions are.
More on Polar Pro Drone ND Filters
ACTION CAMERA/UNDERWATER:
GoPro HERO9 Black
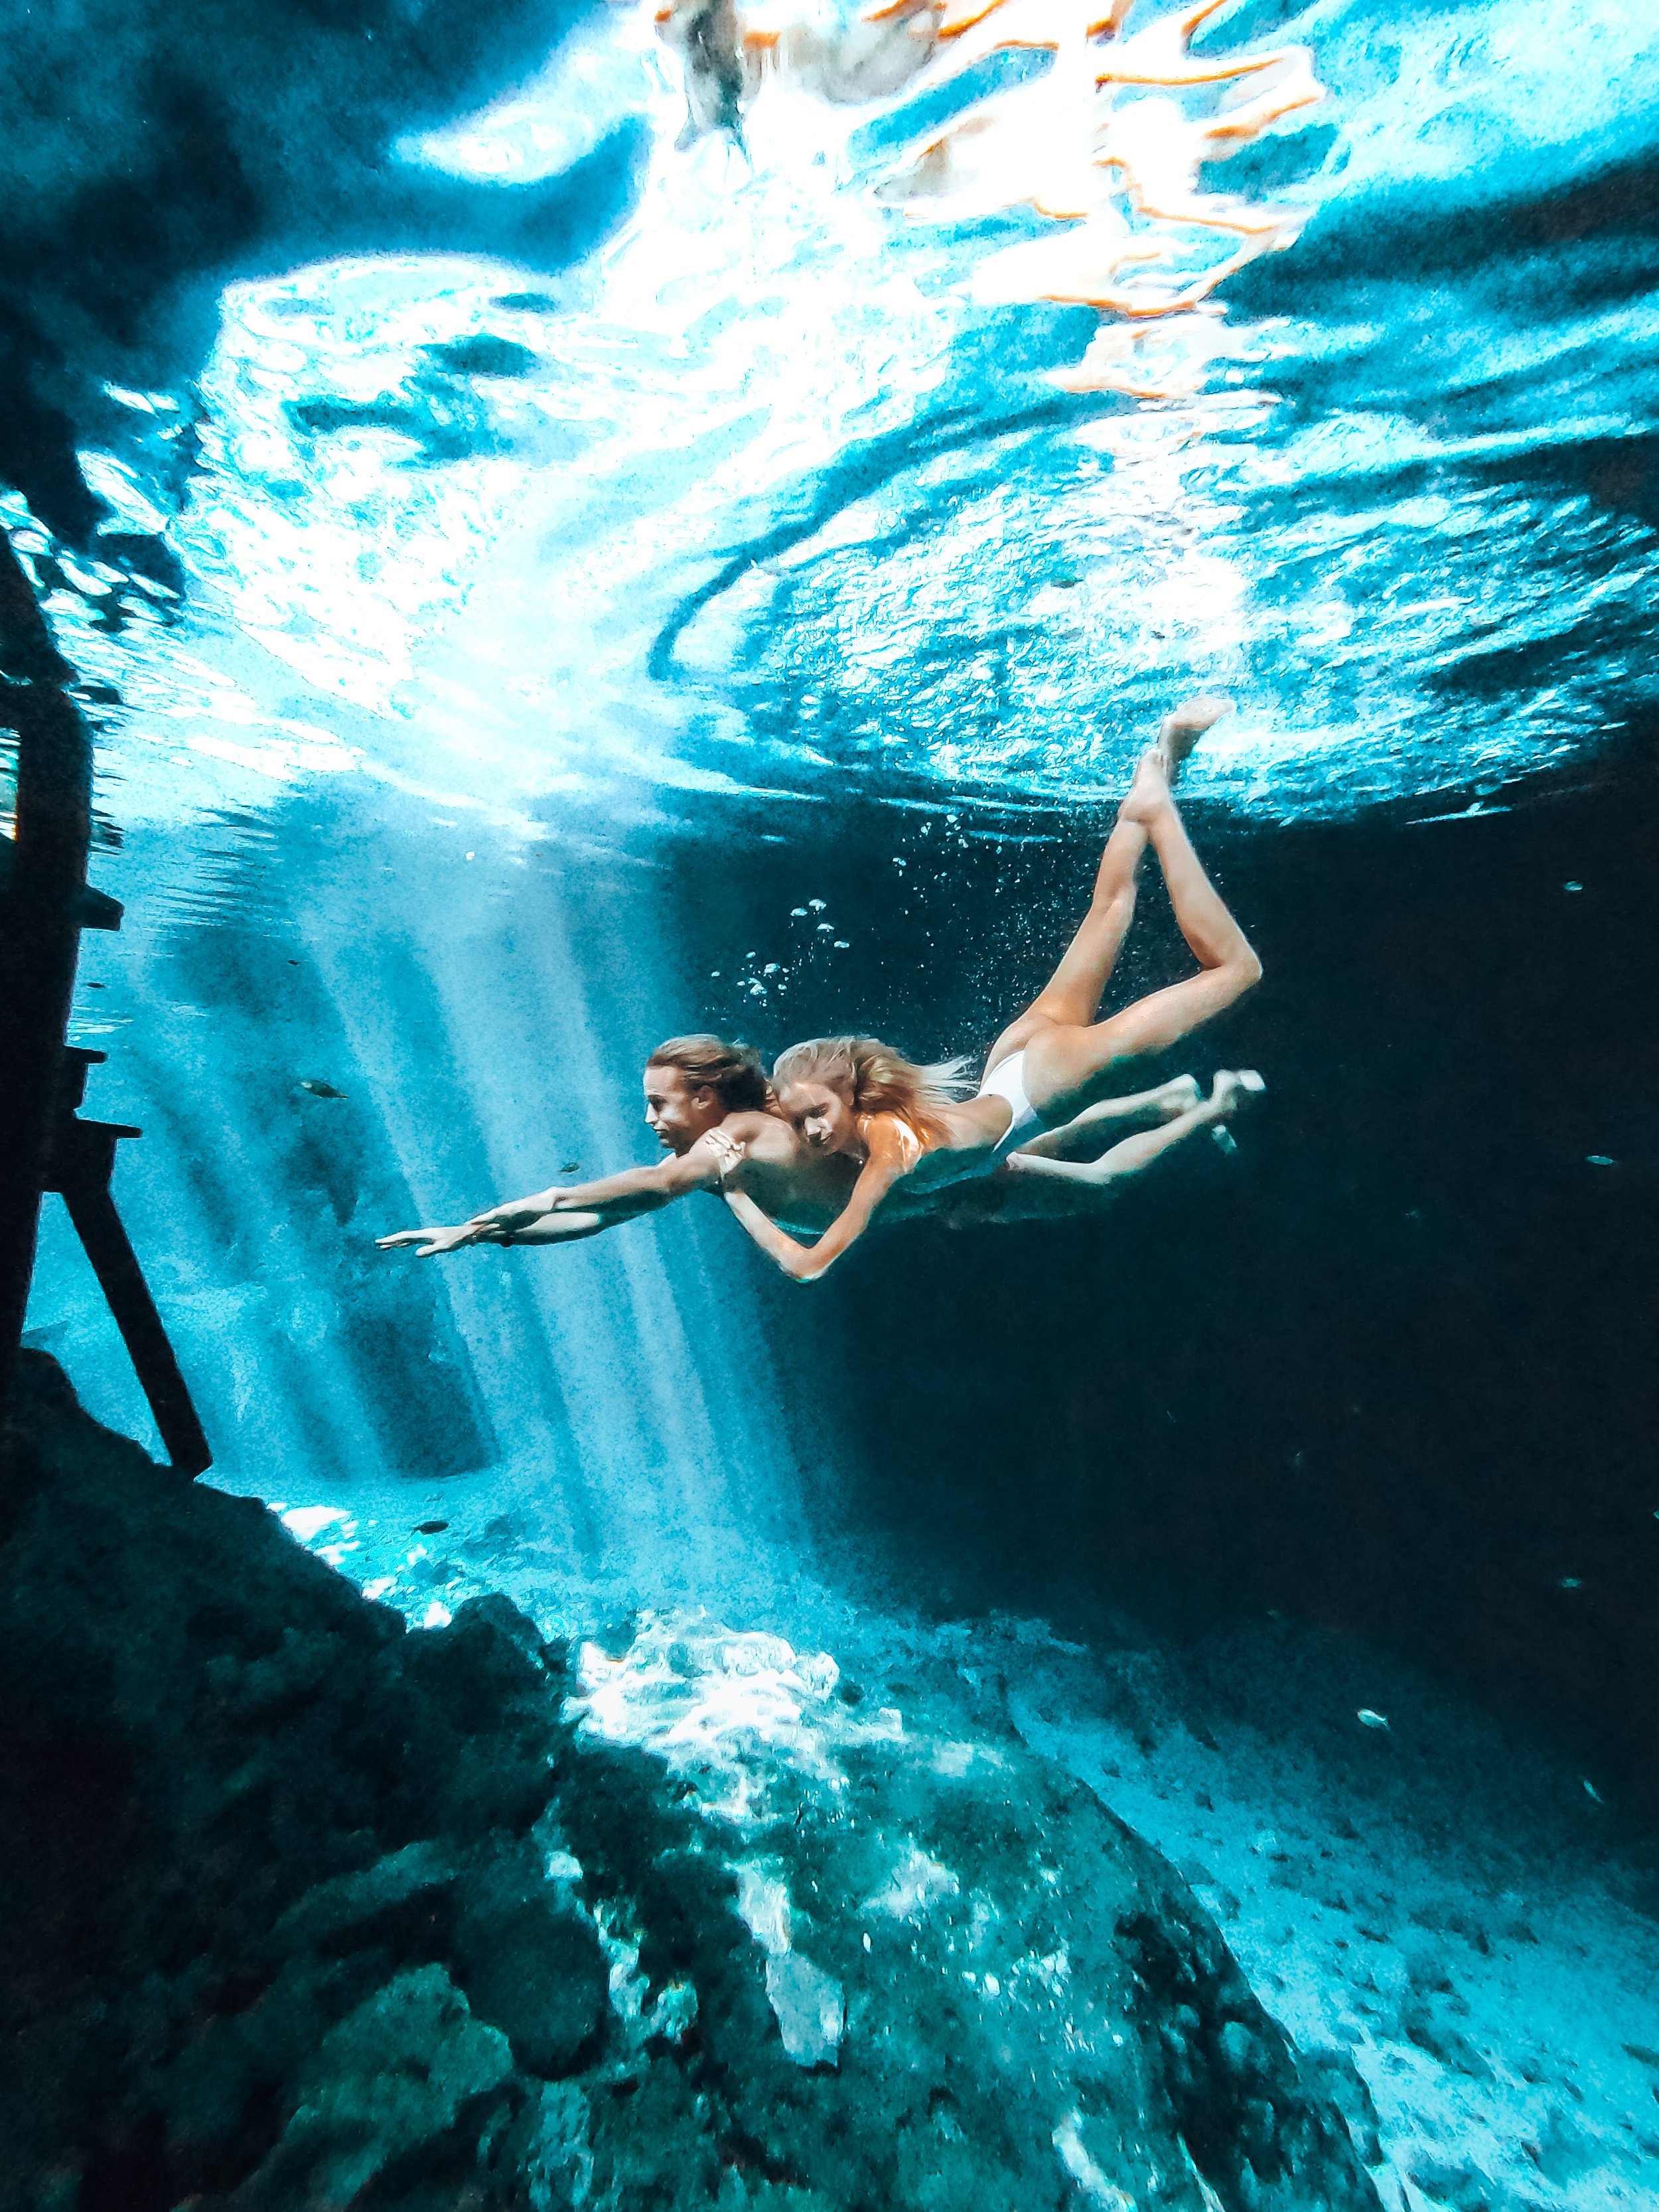
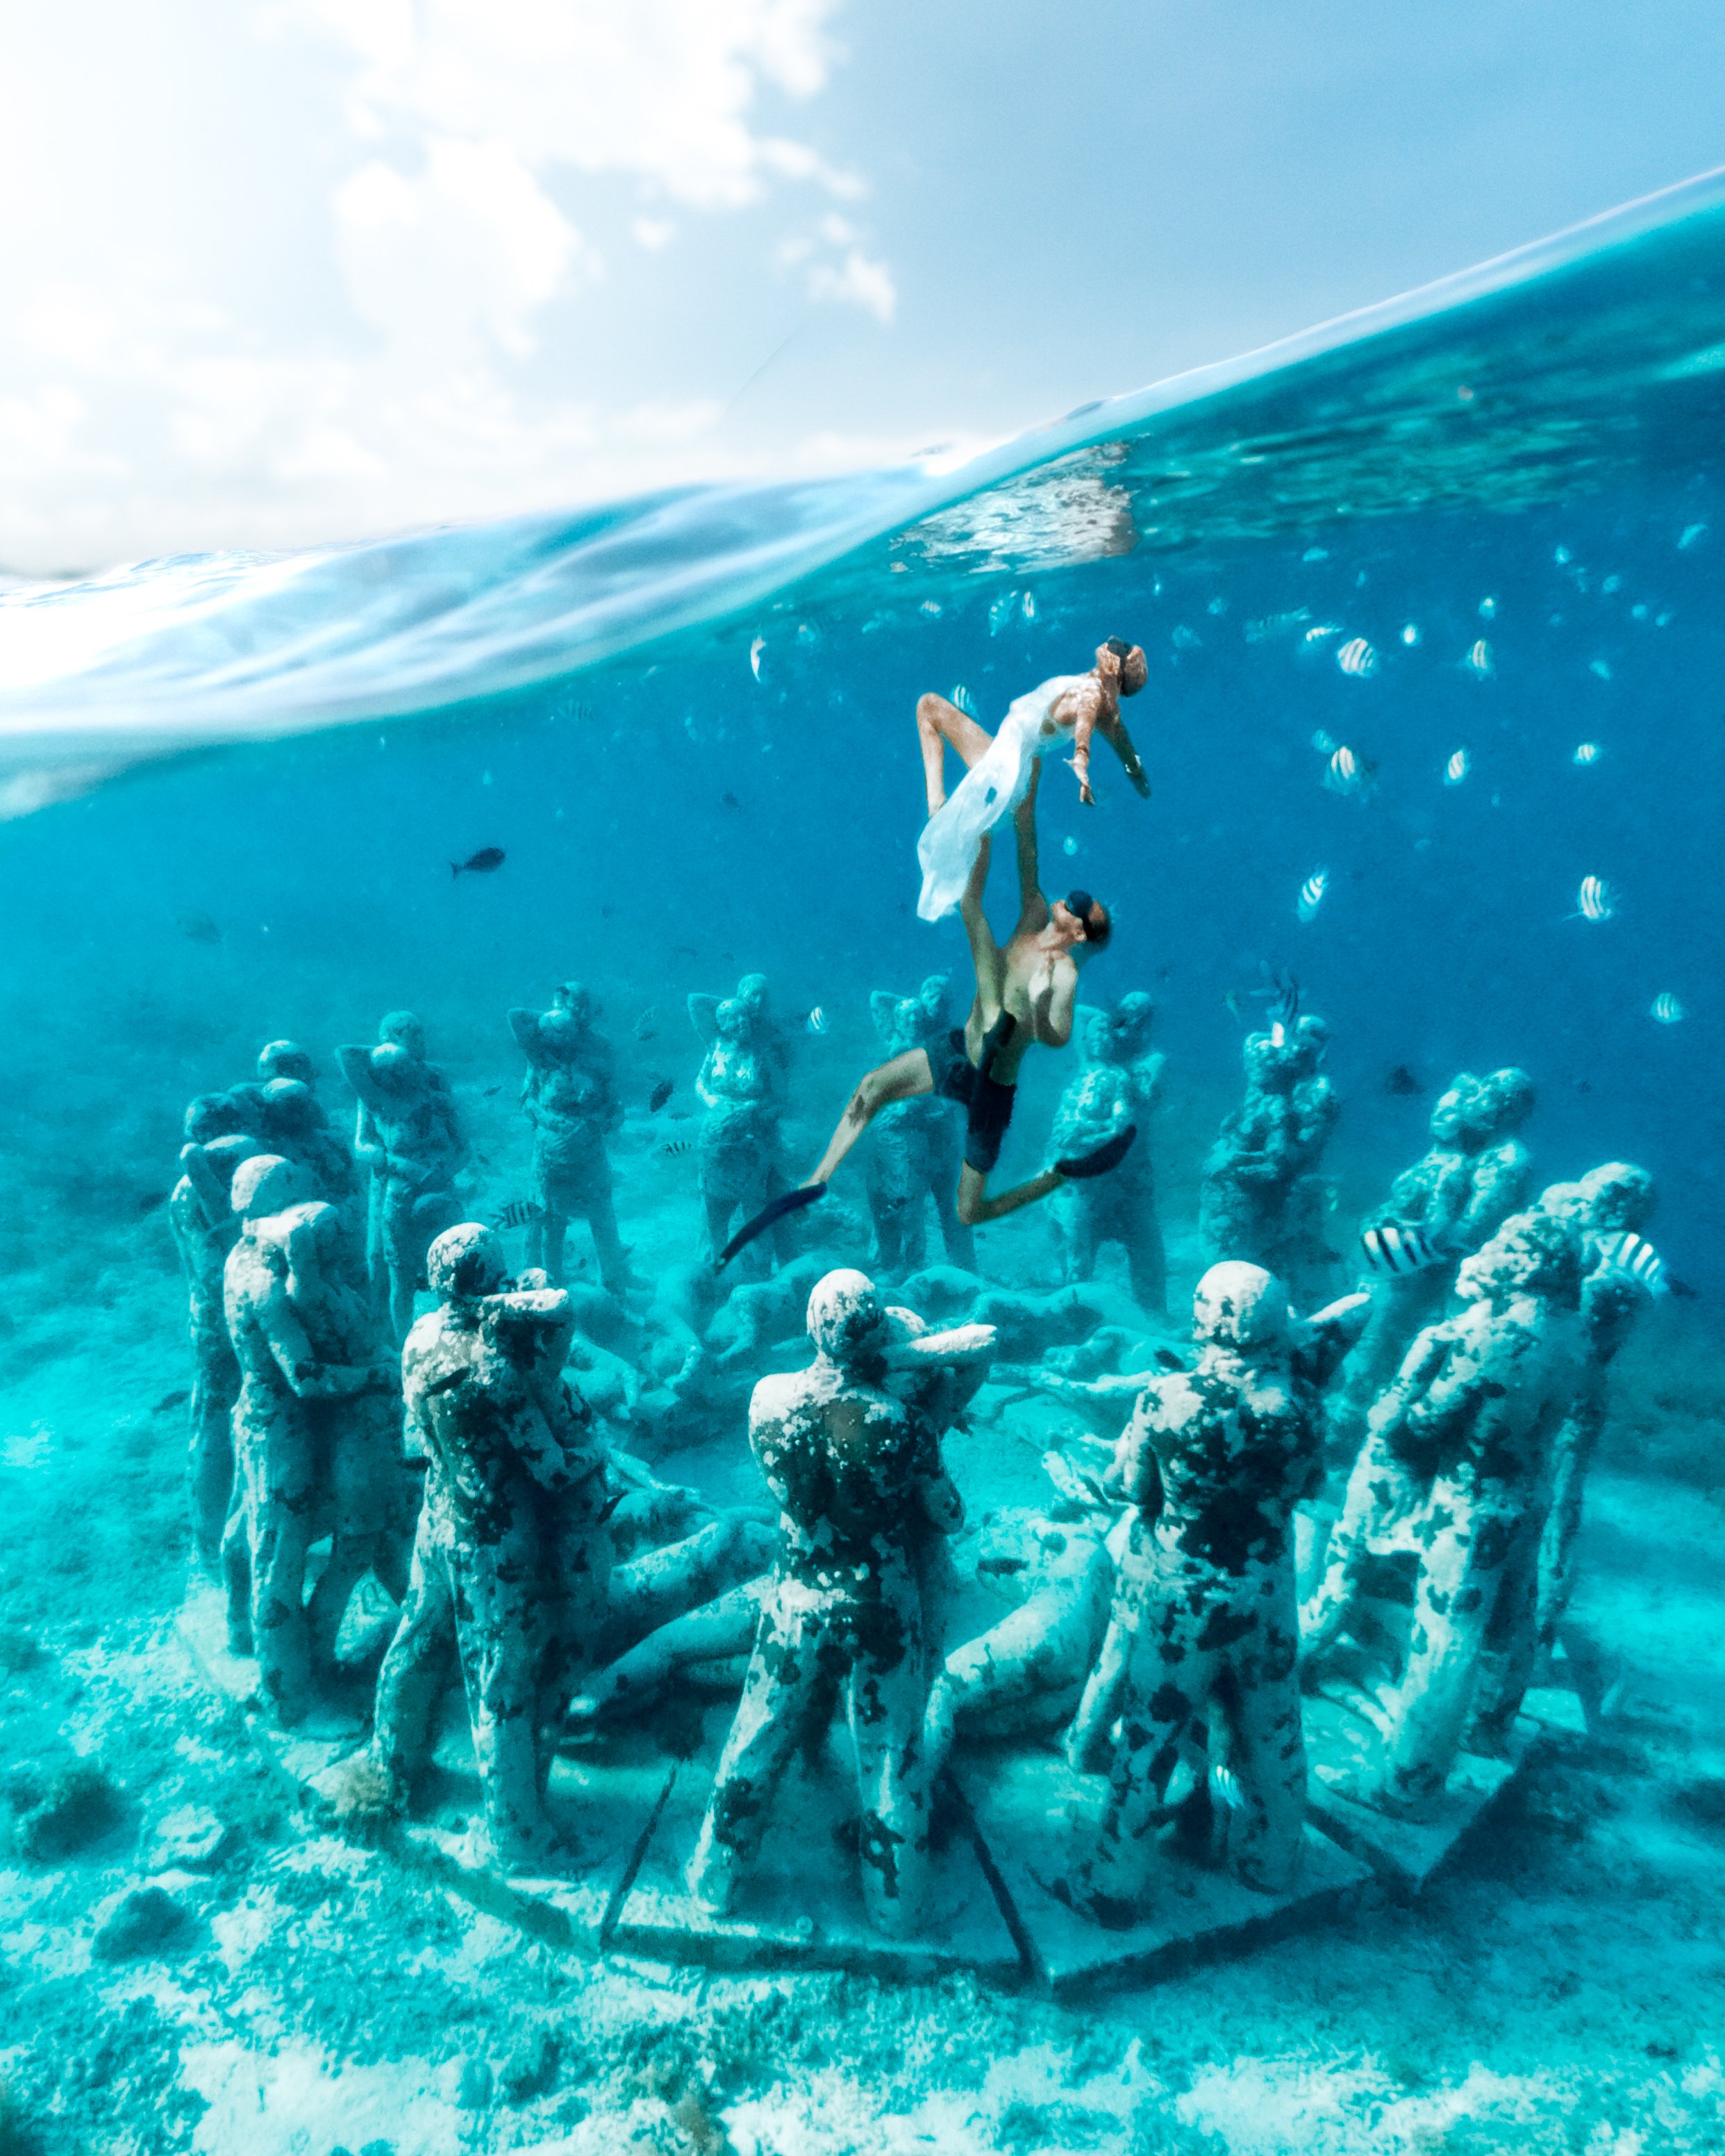
We use this for all of our underwater shots and lately even some of our Instagram stories. Combined with a Telesin Dome (see below), this camera allows us to capture half and half shots of us swimming underwater with the horizon above. Because it is waterproof and has strong video capabilities, we shoot with it almost everyday on the road. It also has an extra smooth feature that make it great for documenting time lapses of walking on a trail or going for a drive. The quality is good enough to have versatility in post editing process, though not as much depth and detail as a DSLR.
More on GoPro Hero9 Black
Telesin Dome
An absolute necessity in order to capture those half and half shots underwater. We combine this with the Fotopro UFO Flexible Tripod (see below) and hook it onto the ladder of a boat or onto a rock to steady it for our shots. Because of the air trapped in the dome, we find it tends to be quite buoyant, so we actually prefer to strap it onto a ladder without the floating hand grip.
More on Telesin Dome for Hero9 Black
Go Pro Floating Hand Grip
This is our underwater insurance policy. If you are taking your GoPro into the ocean or underwater, as expected it will sink if you drop it. That’s why unless we have it strapped into our Dome (above) we always have it attached to the floating hand grip. That way if we accidentally drop it, or need to pass it to each other, we don’t have to worry about it sinking to the bottom.
More on Go Pro Floating Hand Grip
GIMBALs:
DJI Ronin RSC-2 Gimbal
Originally we had the Ronin S, which honestly ended up being a little large and cumbersome. Because we shoot so often on the road, it was demotivating to get it out and use. So we traded it in and got the RSC-2, which is a much smaller rig with folding capabilities. It has been much easier to set up on the go and we use it actually quite a bit. We have loved shooting with this for our video work. It is buttery smooth and very durable. The balancing does take some getting used to, but is not too bad after a bit of practice. It is useful when we are shooting film while moving quickly (aka running, in a car, on a boat etc.). It essentially allows us to maintain the quality of our EOS R5 while shooting with the smoothness of a GoPro Hypersmooth setting. If you plan on shooting video for professional work, this is a must.
More on DJI Ronin RSC-2
DJI Osmo 4 iPhone Gimbal
Our newest addition. While we love our EOS R5 + gimbal set up, it’s not exactly ideal for on-the-go moments or capturing some footage for our Instagram stories. We love being able to use our phone, but it can get quite shaky at times. Having a gimbal for the phone can be really nice so we can easily film something like a room tour or day at the beach to post in our stories right away, all from our phone! Hot tip - attach this to the top of a tripod and hold it up high over your head in order to create a drone-like effect. It is super useful in no-fly zones.
More on DJI Osmo 4 iPhone Gimbal
ACCESSORIES:
MeFOTO GlobeTrotter Tripod
Aside from our camera, this is our most essential piece of equipment. We previously had a cheaper one ($50) but it broke after the first trip. Our current tripod has lasted us over 1 year and that’s through sandy/rainy/muddy/humid/dry conditions. Needless to say, it still works, and we like it. It is pretty light weight and folds up small which is great for travel, but still heavy enough to where it won’t blow over in the wind, or get swept away by an ocean wave. We also love the rotor ball attachment because it allows us to get just the right angle and lock in place to never move.
More on MeFoto Globetrotter Tripod
Fotopro UFO Flexible Tripod
We prefer using this tripod because we shoot quite a bit underwater and it is waterproof. Our first one we bought was stolen while traveling, but we bought it again because we love how grippy and strong they are. We have never had our camera fall off of this, and it is rigid enough to hold our EOS R5 with an RF 15-35mm f/2.8L IS lens on it. It has also come in handy as an anchor for our other camera while on a boat or in high winds, to attach it to a mast or tree and give us just an extra bit of security for our camera. 2021 UPDATE: We have used 3 of these in the last 12 months. Issue being the legs break after extended bending. It still is our top choice for wrapping around stuff and using under water, but don’t expect it to last forever.
More on FotoPro Flexible Tripod
JOBY GorillaPod Action Video Tripod
We got this after being frustrated with the FotoPro and are happy with the change. The legs ARE smaller than the FotoPro, but we still have been able to use it underwater. We keep our GoPro Hero9 attached to this all the time and use it as our main GoPro tripod. Because it is made of plastic, we aren’t too concerned with the underwater shooting issues. We also really like how the top spins and can actually adjust sideways, allowing us to capture just about any angle we want.
Intervelometer
This is how we get our couples shots without anyone else taking the photo! We cannot go ANYWHERE without this. We just set it up on a 2-second interval shoot, and let it go for 20 or so shots before we come back to check our poses. We used to use the 10-second single shot self timers that were built in-camera, but it was too much work for only one shot that MAYBE worked. If you plan on doing couples photography for yourself and your significant other or just a photo shoot by yourself, you will NEED one of these. And they are relatively inexpensive.
More on Pixel Pro Intervelometer
Camera Backpack
Having a camera backpack to hold our gear has been clutch (and so Davis can just carry all of our gear in one bag). All the pockets are great for storing different gadgets and keeping our life organized. We didn’t want it to be too small either, otherwise it can feel claustrophobic and wouldn’t have enough room for everything we need (and even a towel or change of clothes). This bag by WANDRD is the PRVKE 31 Liter size. We were initally debating between the 21L and the 31L, but opted for the larger one. It has enough space to hold our main body with two lenses as well as our drone! We have tried out 4 different backpacks, but decided to stay with this one because the size/compartments fit our needs. (2022 Update: They just released a new version of this same backpack, and it is even better with more pockets, stronger zippers, and more comfortable straps. Needless to say, we upgraded and we love it!)
More about our Camera Backpack
The DAY Bag
The perfect size for a camera and some extra pockets for phones and wallet. This is our go to day bag when we want to grab some snaps without carrying our whole camera bag set up with us. It is simple yet stylish, and pretty comfortable as well! Perfect for not wanting to look like a tourist, while still being a tourist :)
More about our Day Bag
The Accessories Bag
This is our all around organizer outside of the backpack. Things we keep in here: all charging cables, spare batteries, power adapter, Ronin RSC-2, GoPro Hero9 Black, Joby Action Tripod, Osmo4 iPhone Gimbal, backup intervelometer, headlamps, and spare GoPro batteries. It is the perfect case to make sure everything is going to be where it needs to be when we need it. Our favorite part about the bag is the fact it can carry so much, but it really is only the size of a lunch box.
More about our The Accessories Bag
SD Card
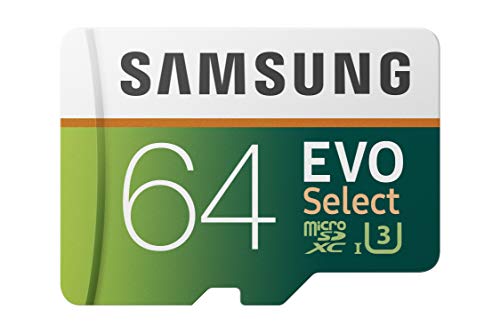
As our creative needs have changed, the read/write speed requirement has increased for our SD cards. Some of the smaller and cheaper ones we used to have are no longer usable. They have a hard time keeping up with how fast we want to shoot video or photo bursts and the amount of data our cameras are capturing. That said, we have been using these microSD cards because we can utilize them in all of our gear (drone, GoPro, camera with adapter) and they have no issues in seamlessly capturing massive amounts of data.
More about SD Cards
Card Reader and Adapter
We use this to upload our SD cards and also hook in normal USB cables to the Mac. It is fast and gets the job done. Previously we used one with 2 lightning hook ins (no cable) but found that if one of the plugs became bent it made the plug unpredictable and might eject itself half way through a data transfer. This Anker reader has been much more reliable, mainly because it has a separate cable to attach it.
More about SD Card Reader
SD Card holder
Essential for keeping our cards organized and stored neatly in the bag. We always transmit all of our photos and videos after a day’s worth of shooting, so we can keep reusing the same cards. We find that 12 slots is plenty for what we need in a day for camera, drone, GoPro, etc.
More about SD Card Holder
G-Drive 2TB Portable SSD External Hard Drive
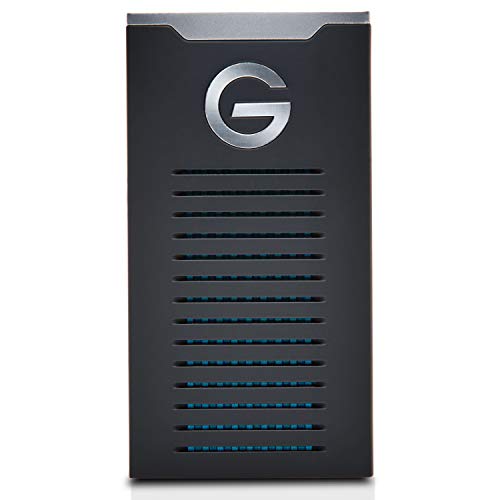
We have a 2TB as our main backup where we keep our most recent edits and work documents. This is plugged into the computer at all times. We will explain our workflow in a different post HERE. The SSD is faster than a normal external hard drive, but does not hold as much. The difference in speed is worth the price difference in our opinion, but also the durability of not having a spinning disk inside gives us a more comfort. On our last trip to Bali, we dropped a hard drive that was not a Solid State Drive (SSD) and it crashed on us. Luckily it was only our back-up safety drive, but this still shook us for sure.
More about 2 TB Portable G-Drive SSD
Seagate 4TB Portable External Hard Drive
We use this as our backup to our backup. Every night after shooting we upload from our SD card to the G-Drive and then also to this Seagate. Better to be safe than sorry. It also holds more so when we want to bring a few past trips with us in case we want some of that content, having a little more room can be very nice.
More about Seagate 4TB Portable External Hard drive
Camera Strap
We wanted a durable camera strap that didn’t hurt our neck or feel uncomfortable after holding it all day long. This one is nice because the back side is very soft, and its long enough to rest nicely on our neck if we want it handy on a tour or hike. And we think it’s cute.
More about this Camera Strap
MacBook PRO
The workhorse behind all the editing. We use this with 64GB RAM and it gets the job done. We use the Adobe Creative suite to handle all of our edits. We needed something powerful enough to run these programs, and as the megapixel counts continue to grow and video quality continues to increase, the power requirement is only getting larger.
More about 64 GB MacBook Pro
Iphone 14 Pro Max
The new competitor to our EOS R5. With technology moving the way it is, more and more iPhone footage is finding it’s way onto mainstream media platforms. And this one does not disappoint. Honestly, the 14 Pro Max stabilization is almost as good as a gimbal, and we use it for all of our Instagram stories content, and the photo content is arguably better in certain circumstances (especially when shooting indoor/outdoor settings, it balances the light perfectly). They also have a new night shot feature that makes astral photography just plain simple. Our iPhone 14 Pro Max is probably the most used piece of equipment ahead of both our camera and computer.
More about iPhone 12 Pro Max
ADOBE Lightroom & Presets
After we have imported all of our photos, we try and streamline the process of editing as much as possible. For editing we use Adobe Lightroom. We can take close to anywhere from 1,000-2,000 photos on a single day, so having a way to go through photos quickly and know which ones we like/work is essential. We created our own Adobe Lightroom Presets (photo filters) that allow us with one click to get 80-90% of the way to a perfect edit and reduce our editing process down to minutes for a photo. It also helps us to create a consistent look to all our photos across our Instagram, website or an overall mood for a client.
